Dell Laptop Hard Drive Replacement: A Comprehensive Guide
Are you facing issues with your Dell laptop's hard drive or do you simply want to upgrade your storage space? Replacing the hard drive on your Dell laptop can seem like a daunting task, but with the right guidance, it's a job that can be easily accomplished. In this article, we'll take you through the step-by-step process of replacing a Dell laptop hard drive, including the necessary preparations, tools, and troubleshooting tips.
Preparation and Planning
Before starting the hard drive replacement process, make sure you have the following:
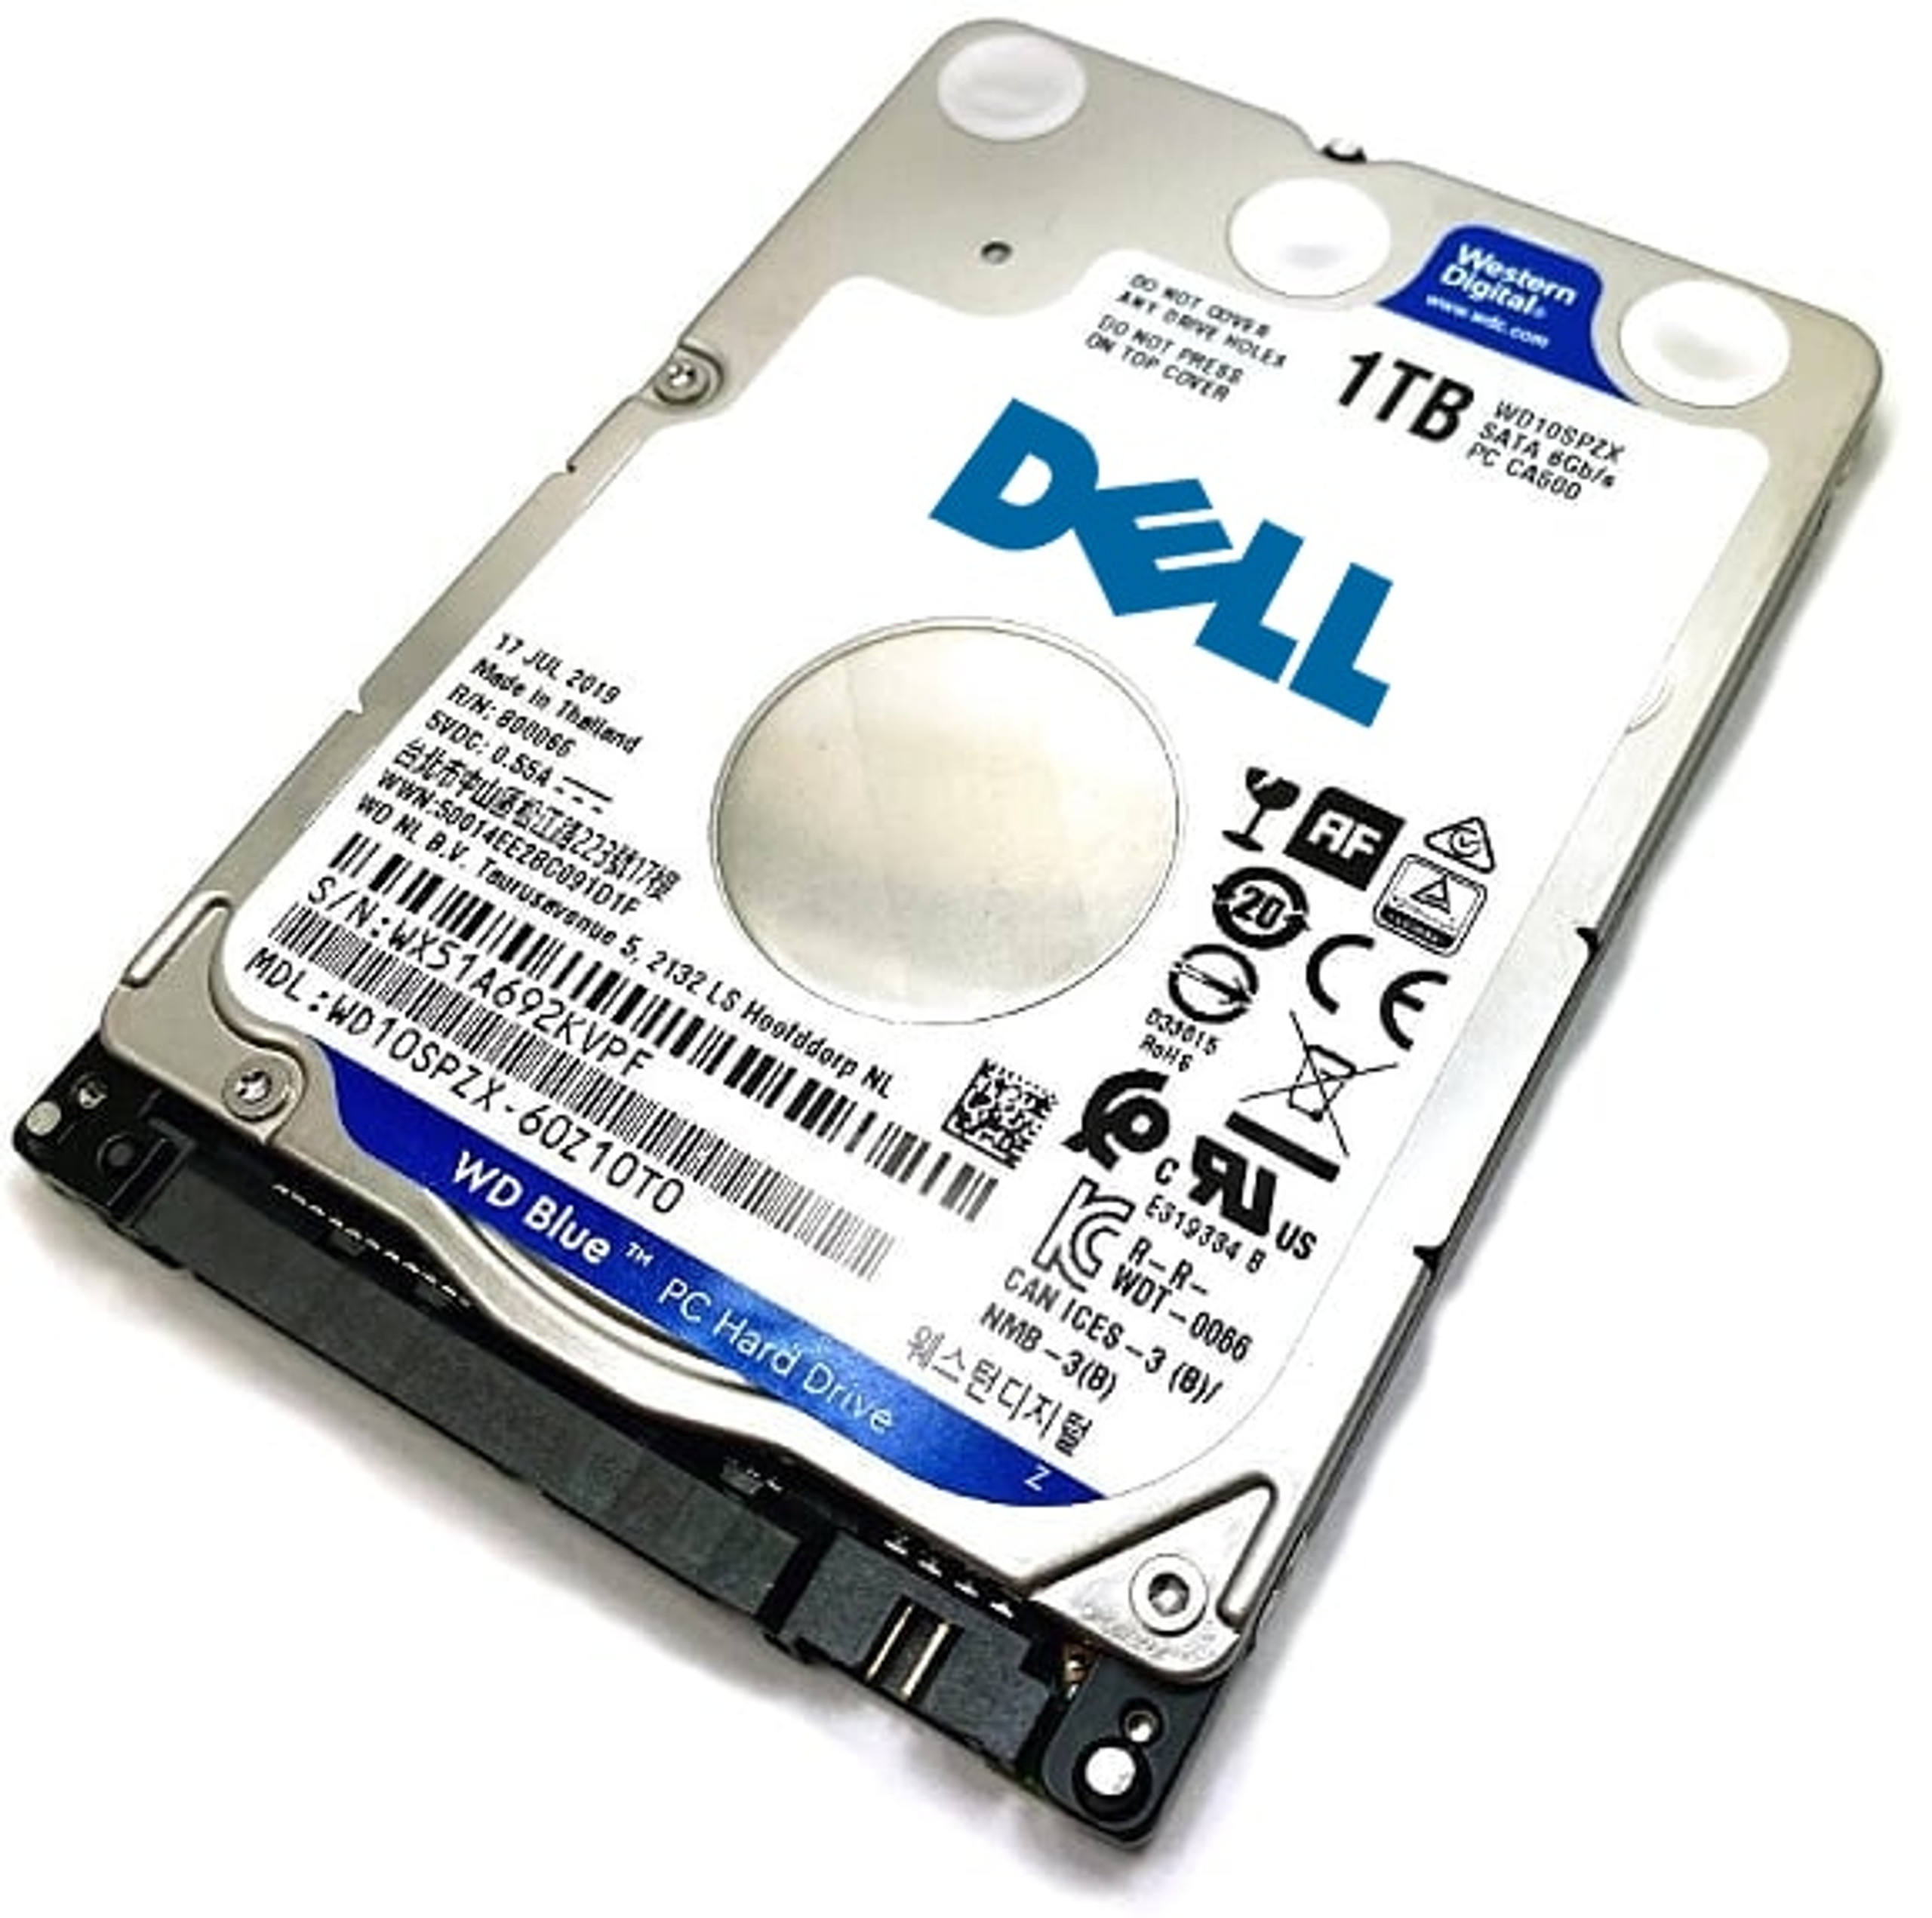
- A new hard drive or solid-state drive (SSD) compatible with your Dell laptop model
- A screwdriver (preferably a Phillips head screwdriver)
- A anti-static wrist strap or mat to prevent damage to your laptop's components
- Backup data from the old hard drive (if possible)
Step-by-Step Instructions
Here's a detailed guide on how to replace the hard drive on your Dell laptop:
Step 1: Shut Down Your Laptop
Make sure your laptop is turned off and unplugged from the power source. This is a crucial step to prevent any accidental startup or damage to your laptop's components.
Step 2: Remove the Bottom Panel
Locate the screws that hold the bottom panel in place. Remove the screws using a screwdriver and gently pry the panel off. Be careful not to damage any of the surrounding components.
Step 3: Disconnect the Hard Drive Cables
Locate the hard drive cables and disconnect them from the motherboard. Be careful not to touch any of the internal components to avoid damage.
Step 4: Remove the Old Hard Drive
Carefully lift the old hard drive out of its mounting bracket. If the hard drive is stuck, you may need to use a gentle prying motion to release it.
Step 5: Install the New Hard Drive
Take the new hard drive and insert it into the mounting bracket. Make sure it's securely fastened with screws.
Step 6: Reconnect the Hard Drive Cables
Reconnect the hard drive cables to the motherboard. Make sure they're securely connected to prevent any issues.
Step 7: Replace the Bottom Panel
Put the bottom panel back in place and reattach it with screws. Make sure it's securely fastened to prevent any damage.
Post-Replacement Steps
After replacing the hard drive, follow these steps:
- Reconnect any other components that were disconnected during the process
- Reboot your laptop and enter the BIOS setup (usually by pressing F2 or Del)
- Save the BIOS settings and exit
- Install the operating system and drivers for the new hard drive
Troubleshooting Tips
In case you encounter any issues during the hard drive replacement process, here are some troubleshooting tips:
- Check the compatibility of the new hard drive with your Dell laptop model
- Make sure the new hard drive is properly installed and connected to the motherboard
- Check for any loose connections or screws
- Try rebooting your laptop and see if the issue is resolved
Conclusion
Replacing a Dell laptop hard drive can seem like a daunting task, but with the right guidance and preparation, it's a job that can be easily accomplished. By following the step-by-step instructions and troubleshooting tips outlined in this article, you should be able to replace your laptop's hard drive with ease. Remember to always handle your laptop's components with care and take necessary precautions to prevent damage.


