How to Make a Discord Server: A Step-by-Step Guide
Discord has become an essential tool for communities to connect and communicate in real-time. Whether you're looking to create a community for gaming, study groups, or other hobbies, setting up a Discord server is easy and straightforward. In this comprehensive guide, we'll walk you through the steps to create a Discord server and share the different features and tools to manage it.
Creating a Discord Server
Creating a Discord server is a simple process that can be completed in a few steps. First, you must either download the Discord app or access it through the Discord website. If you're new to Discord, you'll need to create an account by providing some basic information such as your name, email address, and password.
- Step 1: Download and Install the Discord App If you haven't already, download and install the Discord app on your device. This will give you access to the Discord desktop and mobile applications.
- Step 2: Create a New Account or Log in to an Existing One If you're new to Discord, create a new account by providing some basic information such as your name, email address, and password. If you already have a Discord account, log in to access the app.
- Step 3: Click on the "New Server" Button Once you're logged in to the app, click on the "New Server" button to create a new Discord server.
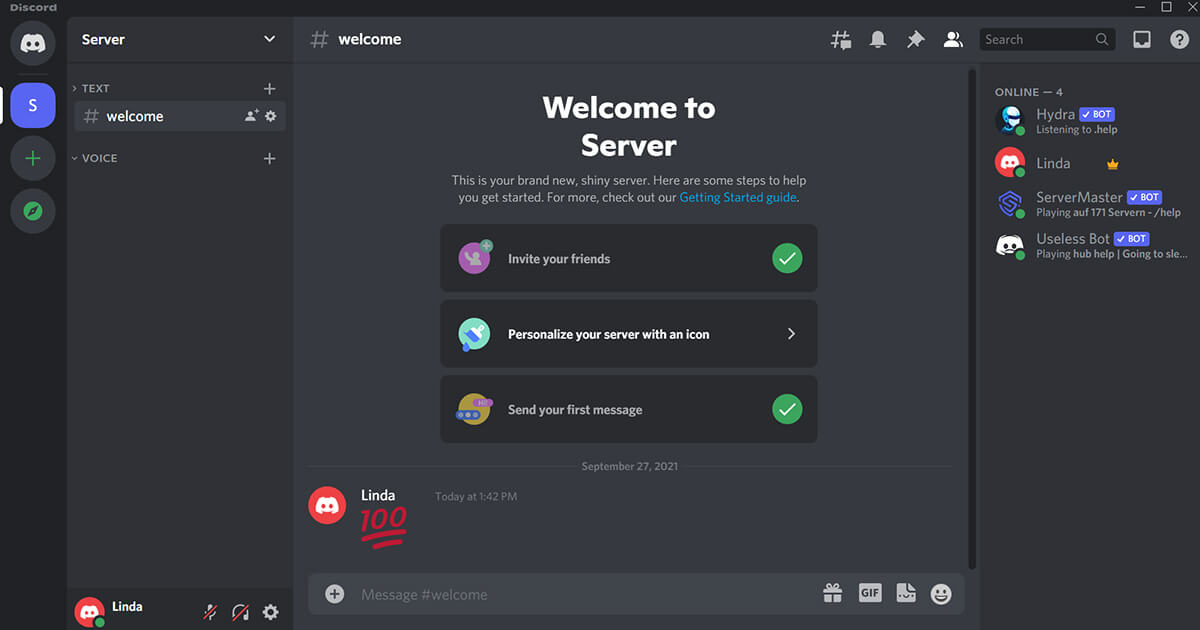
- Step 4: Choose a Server Name and Icon In this step, you'll need to choose a name and icon for your Discord server. This will give your server a unique identity and make it easy for users to recognize it.
- Step 5: Set up Server Settings Once you've chosen a server name and icon, you'll need to set up some basic server settings such as server description, regions, and language.
Customizing Your Discord Server
Once you've created your Discord server, you can start customizing it to fit your community's needs. This includes setting up channels, roles, and bots to manage your server.
- Setting up Channels Channels are used to create separate sections for different topics or activities within your server. You can set up text channels, voice channels, or even create custom channels for specific topics.
- Creating Roles Roles are used to assign specific permissions and responsibilities to users within your server. You can create custom roles and assign them to users to manage your server's membership.
- Setting up Bots Bots are used to automate tasks and enhance your server's functionality. You can set up custom bots to manage your server's membership, send messages, or even create custom commands.
Managing Your Discord Server
Once you've set up your Discord server, you'll need to manage it regularly to keep your community engaged and active. This includes setting up server permissions, managing roles, and tracking server analytics.
- Setting up Server Permissions Server permissions are used to control what users can do within your server. You can set up custom permissions to restrict or grant access to specific channels, roles, or bots.
- Managing Roles Roles are used to assign specific permissions and responsibilities to users within your server. You can create custom roles and assign them to users to manage your server's membership.
- Tracking Server Analytics Server analytics are used to track server activity and engagement. You can use tools like Discord's built-in analytics or third-party integrations to track your server's performance.
Conclusion
Creating a Discord server is a straightforward process that can be completed in a few steps. By following this comprehensive guide, you can create a custom Discord server that meets your community's needs and helps you connect with your members in real-time. Whether you're looking to create a community for gaming, study groups, or other hobbies, Discord has the tools and features to help you succeed.


 - YouTube")
 - flat.social")


