Mastering the Art of Writing Checks with an Accountant
Writing a check with an accountant may seem like a daunting task, but it's a crucial skill every adult should know. In today's digital age, checks are becoming less common, but they still play a significant role in various transactions, including business deals and personal payments. In this comprehensive guide, we'll walk you through the step-by-step process of writing a check with the help of an accountant.
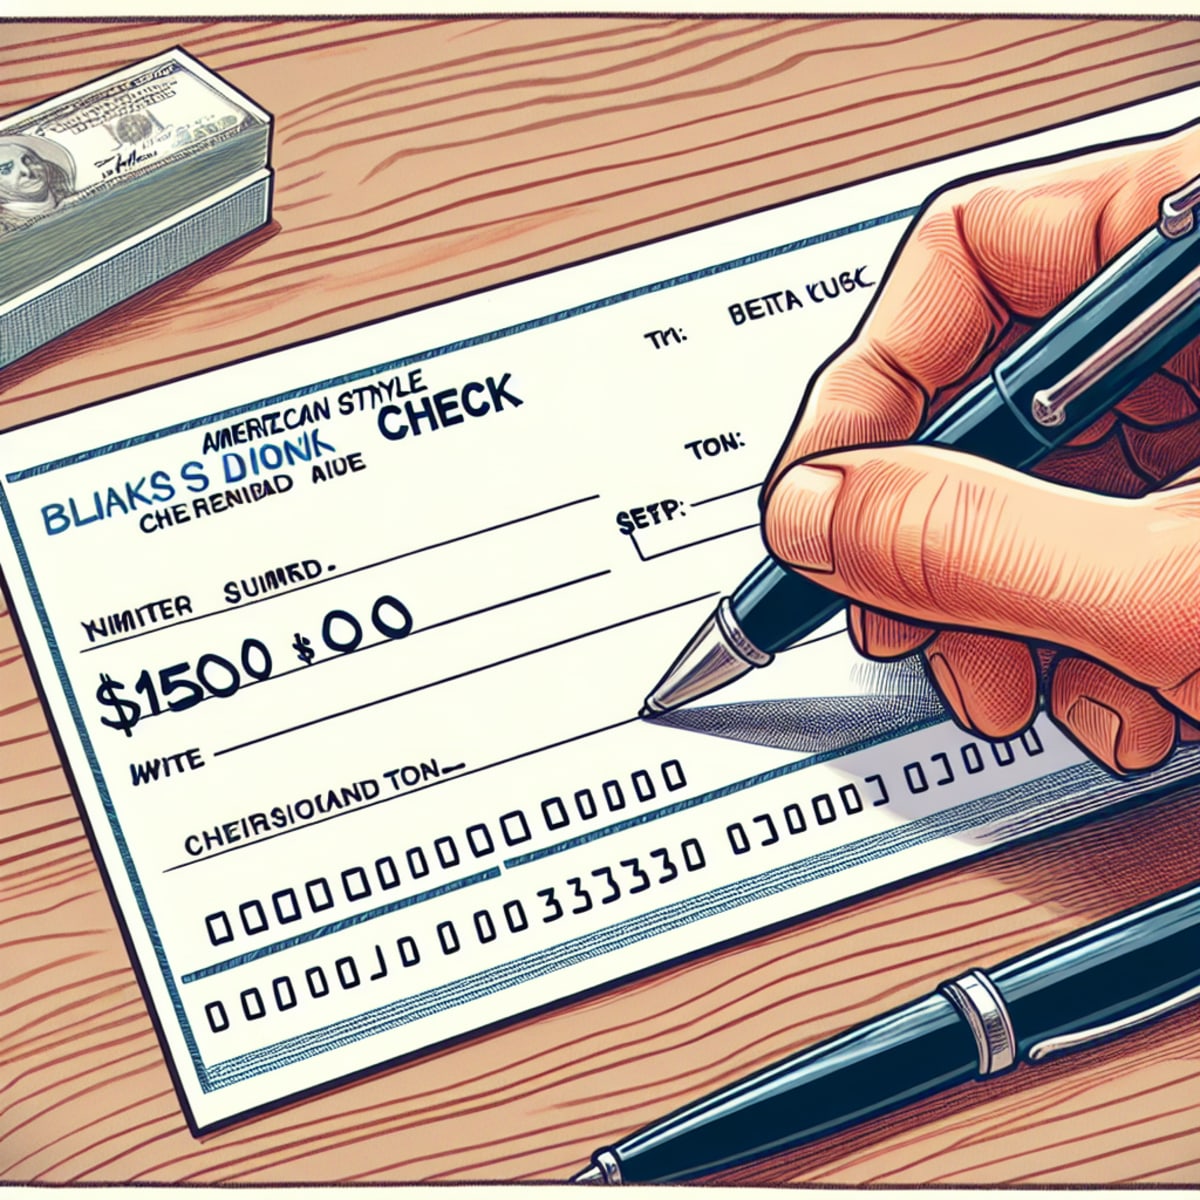
What is Writing a Check?
Writing a check involves filling in various details on the check, including the date, payee's name, amount, and signature. This process may seem straightforward, but it's essential to understand the purpose of each section and the role of an accountant in ensuring the check is written correctly.
Why is Writing a Check with an Accountant Important?
Having an accountant assist you in writing a check provides several benefits, including:
- Ensuring accuracy: An accountant's expertise ensures that the check is filled out correctly, reducing the risk of errors and errors-related complications.
- Compliance: Accounting professionals are aware of the latest regulations and guidelines, ensuring that the check complies with relevant laws and standards.
- Record-keeping: An accountant can help maintain accurate records of transactions, making it easier to track payments and expenses.
- Security: With an accountant's guidance, you can ensure that the check is written securely, reducing the risk of check fraud and other financial crimes.
Step-by-Step Guide to Writing a Check with an Accountant
Here's a detailed, step-by-step guide to writing a check with the assistance of an accountant:
Step 1: Fill in the Date
The date is typically filled in on the top right-hand corner of the check. This date should match the date of the transaction.
Step 2: Write the Payee's Name
The payee's name is usually written on the line below the date. This is the person or business receiving the payment.
Step 3: Specify the Payment Amount
The payment amount should be written on the check in both numerical and written forms. For example, if you're paying $100, you would write "100" on the left side of the check and "One Hundred Dollars" on the right side.
Step 4: Add an Optional Memo (Optional)
Sometimes, you may want to include a brief description of the payment. This is called a memo and can be written on the line below the payment amount.
Step 5: Sign the Check
The signature is usually filled in at the bottom right-hand corner of the check. This signature serves as proof of the payer's identity and authorizes the payment.
Step 6: Review and Verify
Once the check is filled out, it's essential to review and verify the details with an accountant. This includes checking for errors, making sure the payee's name and address are correct, and confirming the payment amount.
Conclusion
Writing a check with an accountant may seem intimidating, but it's a crucial skill for anyone looking to make secure financial transactions. By following the step-by-step guide outlined above, you can ensure that your check is filled out correctly and efficiently, reducing the risk of errors and financial complications.
FAQs
Here are some frequently asked questions about writing a check with an accountant:
Q: What happens if I make a mistake while writing a check?
A: If you make a mistake while writing a check, it's essential to notify the payee and inform your accountant. In some cases, you may need to void the original check and issue a new one.
Q: Can I use a computer to print a check?
A: Yes, you can use a computer to print a check, but it's essential to ensure that the check is printed correctly and securely. Consult with your accountant for guidance.
 - wikiHow")


