How to Connect Printer to Acer Laptop: A Step-by-Step Guide
Connecting a printer to an Acer laptop can seem like a daunting task, but with the right instructions, it can be a straightforward process. Whether you're looking to connect a wired or wireless printer, this article will guide you through the steps to get your printer up and running with your Acer laptop.
Understanding Your Printer and Laptop
Before we dive into the step-by-step guide, it's essential to understand the different types of printers and laptops, as well as the various connection methods available. There are two main types of printers: wired and wireless. Wired printers connect directly to your laptop via a USB cable, while wireless printers connect to your laptop via a Wi-Fi network. Additionally, laptops can be either Windows-based or Chrome OS-based.
Connecting a Wired Printer to Your Acer Laptop
Step 1: Check Compatibility
Before connecting your wired printer to your Acer laptop, ensure that the printer is compatible with your laptop's operating system. Most modern printers are compatible with both Windows and Chrome OS, but it's always best to check the manufacturer's website to confirm compatibility.
Step 2: Connect the Printer
Connect the wired printer to your laptop using a USB cable. Make sure the printer is turned on and the USB cable is securely connected to both the printer and the laptop.
Step 3: Install Drivers
Install the necessary drivers for your printer from the manufacturer's website. Follow the on-screen instructions to install the drivers, and restart your laptop once the installation is complete.
Alternative Method: Adding a Printer via USB
Alternatively, you can add the printer via USB by following these steps:
- Insert the USB drive containing the printer drivers into the laptop.
- Open the Control Panel and navigate to Devices and Printers.
- Click "Add a printer" and select "Add a local printer." A new window will appear, where you can select the USB drive as the printer source.
- Follow the on-screen instructions to install the drivers and restart the laptop once the installation is complete.
Connecting a Wireless Printer to Your Acer Laptop
Step 1: Check Compatibility
As mentioned earlier, ensure that the printer is compatible with your laptop's operating system. Additionally, make sure that your laptop has a Wi-Fi adapter and that the printer has a wireless setting.
Step 2: Connect to the Wi-Fi Network
Connect your laptop to the same Wi-Fi network as the printer. This will allow the printer to communicate with the laptop wirelessly.
Step 3: Add the Printer via Wi-Fi
Open the Control Panel on your laptop and navigate to Devices and Printers. Click "Add a printer" and select "Add a wireless printer from the list." Your laptop will then search for the printer on the network. Select the printer from the list, and follow the on-screen instructions to install the drivers.
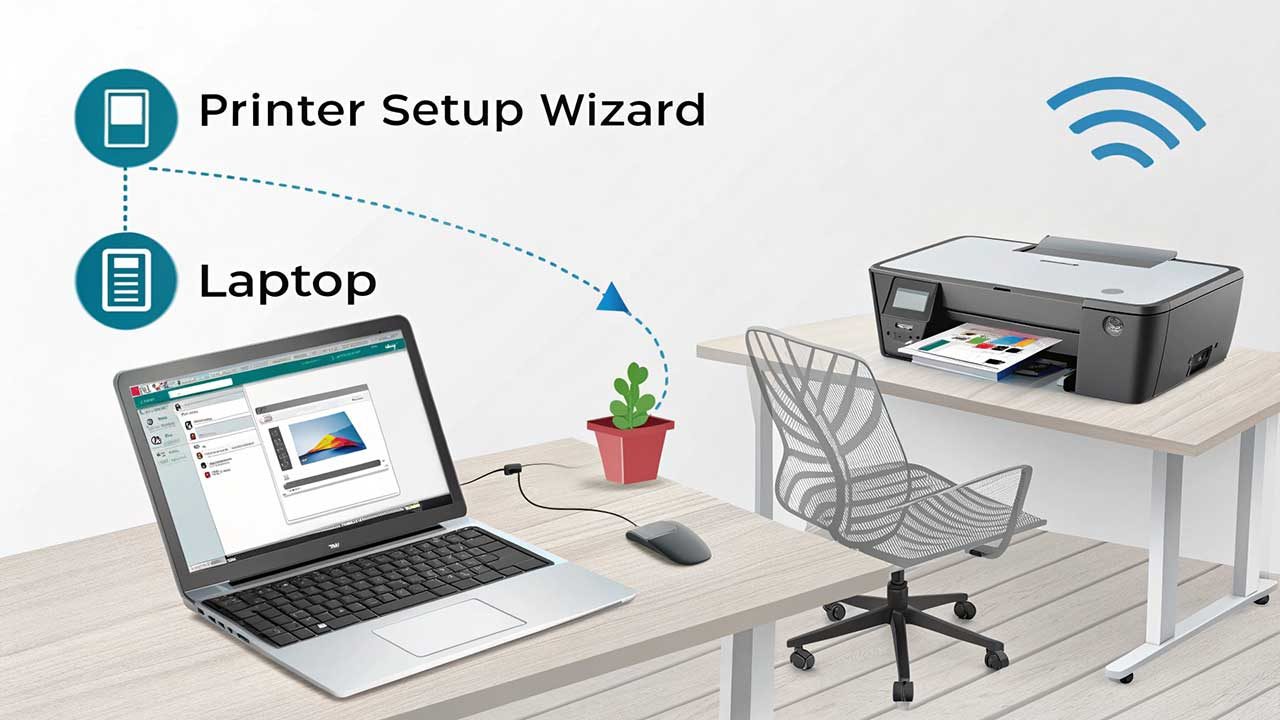
Alternative Method: Manual Printer Setup
Alternatively, you can connect the printer manually by following these steps:
- Turn on the printer and ensure that it's in pairing mode.
- Open the Control Panel on your laptop and navigate to Devices and Printers.
- Click "Add a printer" and select "Add a printer from a wizard." A new window will appear, where you can select the printer from the list manually.
Conclusion
Connecting a printer to an Acer laptop is a straightforward process that requires a few simple steps. Whether you're using a wired or wireless printer, this article has provided you with the necessary instructions to get your printer up and running with your laptop. Always ensure that the printer is compatible with your laptop's operating system and follow the on-screen instructions to install the drivers. With these steps, you'll be printing in no time!


:max_bytes(150000):strip_icc()/408379ccf58e479c8c7d23e313fc1ce0-741a28d3aa4146edb862307009284f6f.jpg "Quick and Easy Steps: Connecting Your Printer Wirelessly with an Acer ...")


 - HP")


")