Setting up an OBS Stream for Twitch: A Step-by-Step Guide
Are you ready to take your Twitch streaming career to the next level? Setting up an OBS stream for Twitch can seem daunting, but with this comprehensive guide, you'll be up and running in no time. In this article, we'll walk you through everything you need to know to get started with OBS and start streaming like a pro.
Choosing the Right Equipment
Before we dive into the technical aspects of setting up an OBS stream, you'll need to choose the right equipment. A stable internet connection is absolute must-have. You'll also need a computer or gaming console to stream from, and a webcam or external camera to capture your face or game footage. While it's not strictly necessary, a good quality microphone can also enhance your streaming experience.
What is OBS?
Open Broadcaster Software, or OBS, is a free and open-source video recording software that's widely used for livestreaming and video production. With OBS, you can capture and stream your gameplay, webcam, and other video sources to platforms like Twitch, YouTube, or Facebook Live.
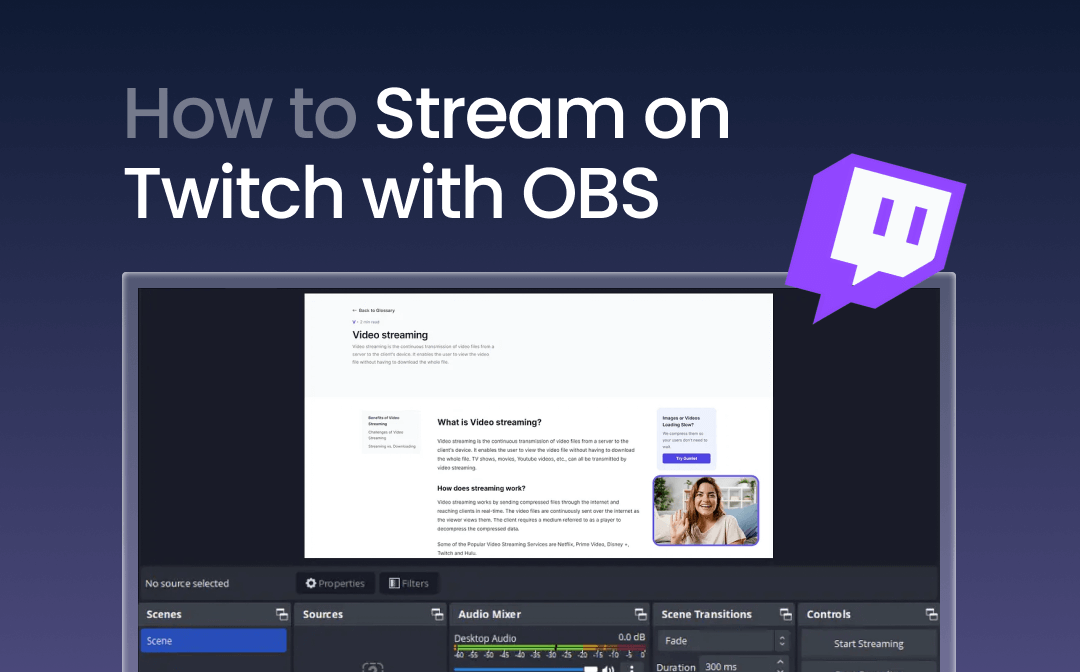
Installing OBS
To get started with OBS, head to the official OBS website and download the software. Once installed, launch the app and familiarize yourself with the user interface. You'll see a tabbed interface with options for Sources, Settings, and a live preview window.
Configuring OBS Settings
Configure your OBS settings to optimize your performance and quality. This includes:
- Setting your stream key (more on this later)
- Choosing the correct video and audio bitrate
- Adjusting your resolution and frame rate
- Enabling or disabling settings for capture and encoding
Adding Sources to Your Stream
With your settings in order, it's time to add some sources to your stream. You can add video sources, including:
- Game footage
- Webcam footage (your face, for example)
- External cameras
- Images and videos
Connecting to Twitch
Now that your OBS is set up, it's time to connect to Twitch. Make sure you have a Twitch account set up and follow these steps to connect to Twitch:
- Open the OBS settings menu and select the "Stream" tab
- Choose "Twitch" from the "Service" drop-down menu
- Copy your Twitch StreamKey from the Twitch dashboard and paste it into the "StreamKey" text box
- Save your profile and label it for easy access next time you want to stream
Setting Up Your Stream Overlay
A stream overlay is an essential part of creating a professional-looking stream. With OBS, you can add custom overlays to your stream using tools like Obsidian or Streamlabs. You can find free overlays online or create your own.
Final Tips and Tricks
Setting up an OBS stream for Twitch takes some time and experimentation, but with these tips, you'll be well on your way:
- Experiment with different camera angles and lighting setups
- Make sure your internet connection is stable and fast
- Find the right bitrate for your stream to ensure the best quality
- Encourage audience interaction through polls, Q&A sessions, and live chats
Conclusion
Setting up an OBS stream for Twitch is a straightforward process that requires some patience and experimentation. With the right equipment, settings, and overlay, you'll be streaming like a pro in no time. Remember to keep up-to-date with the latest OBS releases and Twitch features to stay ahead of the curve. Happy streaming, and good luck with your Twitch journey!
")


![Best OBS Settings for Streaming on Twitch [2026 Updated]](https://recorder.easeus.com/images/en/screen-recorder/resource/advanced-settings-for-obs-output.png "Best OBS Settings for Streaming on Twitch [2026 Updated]")
![How to Stream on Twitch Using OBS [with Images] - OBSBOT](https://static1.makeuseofimages.com/wordpress/wp-content/uploads/2023/04/obs-transition-settings-to-add-transition-add-stinger.jpg "How to Stream on Twitch Using OBS [with Images] - OBSBOT")

.png "How to Use OBS for Live Streaming: A Step-by-Step Guide")


