Ring Doorbell Smart Doorbell Installation: A Step-by-Step Guide
Enhance Your Home Security with Ring Doorbell's Easy to Install Smart Doorbells
Are you looking to upgrade your home security system with a smart doorbell? Look no further than Ring Doorbell's innovative and easy-to-install smart doorbell systems. In this article, we'll guide you through the process of installing your Ring Doorbell smart doorbell, exploring its features, benefits, and troubleshooting tips.What is Ring Doorbell?
Ring Doorbell is a revolutionized home security system that allows homeowners to monitor and control their entrance with the help of smart doorbells. Introduced in 2013, Ring Doorbell has been enhancing home security with its cutting-edge 4K video doorbells that offer clarity, precision, and smart features.
The Benefits of Installing a Ring Doorbell Smart Doorbell
- Peace of mind: With a Ring Doorbell smart doorbell, you can monitor your entrance remotely, receive instant alerts, and stay informed about visitors and deliveries.
- Enhanced security: Ring Doorbell's high-definition 4K video and advanced motion detection features provide a clear view of your entrance, ensuring your home's security and safety.
- Easy installation: Ring Doorbell is designed to be easy to install, making it perfect for DIY home improvement projects and professionals alike.
- Advanced features: Ring Doorbell offers features such as two-way talk, live view, and Night Vision, making it a comprehensive security solution.
How to Install a Ring Doorbell Smart Doorbell
Installing a Ring Doorbell smart doorbell is a straightforward process that requires minimal tools and equipment. Here's a step-by-step guide to help you get started:
Step 1: Choose Your Ring Doorbell Model
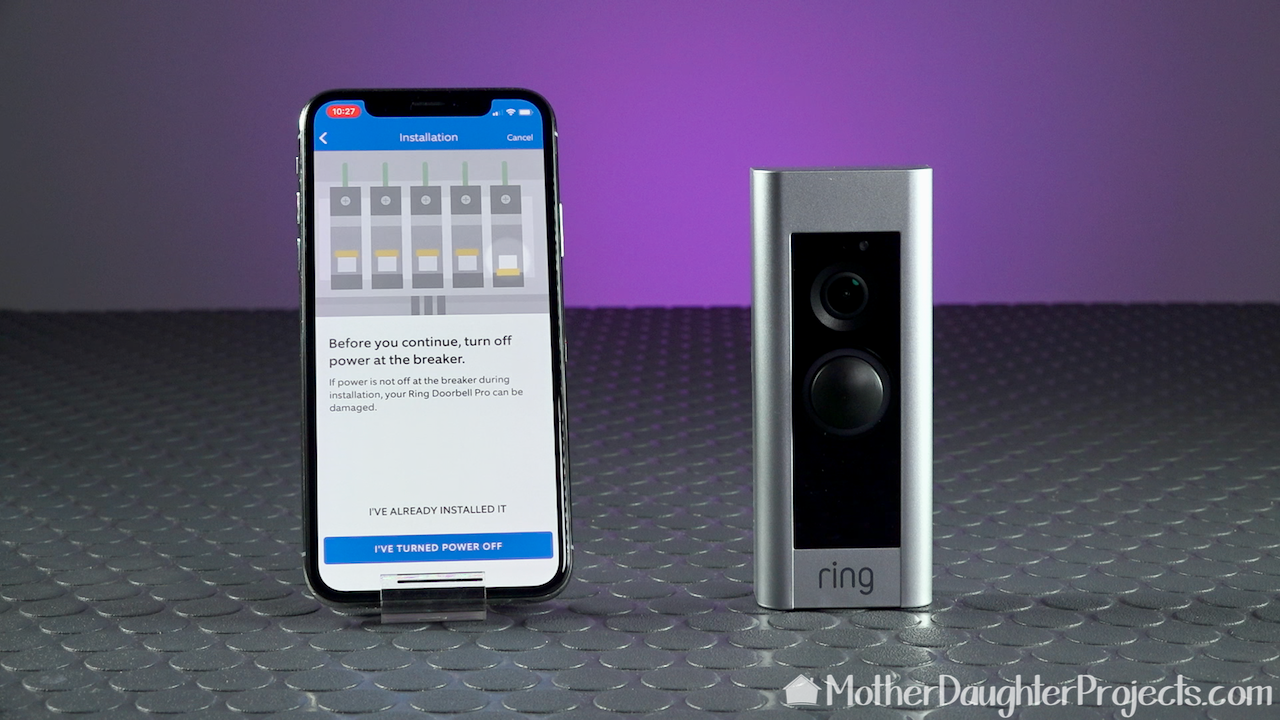
Ring Doorbell offers a range of models, including the Battery Doorbell Plus, Wi-Fi Video Doorbell Wired, and Video Doorbell Pro. Choose the model that best suits your needs and home type.
Step 2: Prepare Your Door
Before installing your Ring Doorbell, ensure your door is prepared for installation. You may need to remove old doorbell hardware, clean the surface, and drill holes for the new doorbell.
Step 3: Charge Your Ring Doorbell Battery
If you're using a battery-powered Ring Doorbell, charge the battery pack according to the manufacturer's instructions. This will ensure your doorbell functions properly during installation.
Step 4: Mount Your Ring Doorbell
Mount your Ring Doorbell to your door using the provided guide and installation hardware. Ensure the doorbell is level and securely attached.
Step 5: Connect Your Ring Doorbell to Wi-Fi
Connect your Ring Doorbell to your home Wi-Fi network using the Ring app. This will enable you to monitor and control your doorbell remotely.
Troubleshooting Tips
Common issues during Ring Doorbell installation include connectivity problems, power drainage, and setup difficulties. Here are some troubleshooting tips to resolve these issues:
- Check the network connection and restart your router if necessary.
- Update your Ring app and hardware for optimal performance.
- Scan the QR code on your Ring Doorbell to complete the setup process.
- For stubborn issues, consult the user manual or contact Ring support for assistance.
Ring Doorbell Models and Accessories
Ring Doorbell offers various models and accessories to cater to different home and security needs. Some popular models include the:
Ring Doorbell smart doorbells are an excellent addition to any home security system. With their advanced features, ease of installation, and innovative technology, they provide homeowners with peace of mind and enhanced security. Follow our step-by-step guide to install your Ring Doorbell smart doorbell and ensure your home is secure and protected.Conclusion
Ring Doorbell Installation Tips and Resources
By following our guide and tips, you can successfully install your Ring Doorbell smart doorbell and enjoy enhanced security and peace of mind for your home.


")


